Apple Reportedly Prototyping a Nearly 7-Inch Display for the 20th Anniversary iPhone
Apple is reportedly prototyping a significantly larger display for an upcoming iPhone model, with internal tests indicating a panel measuring approximately 6.96 inches. This expanded screen size is widely expected to be marketed as a full 7-inch display if it progresses to mass production, marking a substantial increase in the visual real estate offered on a premium iPhone. The development aligns with a persistent industry trend towards larger smartphone screens, driven by evolving consumer preferences for immersive media consumption and enhanced productivity on mobile devices.
The revelation stems from Chinese leaker Digital Chat Station, a source with a credible track record in detailing unreleased technology specifications. According to their insights, Apple is currently evaluating this larger display internally, specifically for what is anticipated to be the 20th-anniversary iPhone, projected for release in 2027. This commemorative device is already the subject of intense speculation within tech circles, with various rumors pointing to a radical redesign and advanced features. The leaker further noted that despite the increased physical dimensions, the aspect ratio of this new display would maintain consistency with the current iPhone 17 Pro Max models, suggesting a familiar viewing experience albeit on a grander scale. However, whether this specific 7-inch panel will ultimately be incorporated into the high-end iPhone 20 Pro Max, or potentially another variant, remains unconfirmed at this preliminary stage of development.
The Trajectory of iPhone Display Evolution
The journey of the iPhone’s display size has been a gradual but consistent ascent since its inception. When Steve Jobs unveiled the original iPhone in 2007, its 3.5-inch screen was considered revolutionary, offering a multi-touch interface that redefined smartphone interaction. For several years, this size remained standard, setting a benchmark for pocketability and one-handed use.
The first significant increase came with the iPhone 5 in 2012, stretching the display vertically to 4 inches while maintaining the same width, allowing for an extra row of app icons and a more comfortable browsing experience. This move was a response to the growing popularity of Android devices that were already exploring larger form factors.
A pivotal moment arrived in 2014 with the iPhone 6 and iPhone 6 Plus. Apple, known for its measured approach, made a bold leap, introducing 4.7-inch and 5.5-inch displays, respectively. The iPhone 6 Plus, in particular, ushered in the "phablet" era for Apple, acknowledging a significant segment of the market that desired larger screens for media consumption and productivity. This strategic shift signaled Apple’s willingness to adapt to evolving consumer demands, even if it meant diverging from its long-held philosophy of optimal one-handed usability.
The advent of the iPhone X in 2017, celebrating the iPhone’s tenth anniversary, brought another paradigm shift. While its physical footprint was similar to the 4.7-inch iPhone 8, its edge-to-edge Super Retina OLED display measured 5.8 inches diagonally, effectively maximizing screen real estate within a compact form factor by eliminating the home button and significantly reducing bezels. This design philosophy paved the way for future Pro and Pro Max models.
Subsequent generations saw incremental increases. The iPhone 12 Pro Max, for instance, introduced a 6.7-inch display, a size that became a staple for Apple’s largest flagship models. More recently, Apple further expanded its premium offerings with the iPhone 16 Pro lineup in 2024. The iPhone 16 Pro grew from its predecessor’s 6.1 inches to 6.3 inches, while the iPhone 16 Pro Max saw an increase from 6.7 inches to 6.9 inches. These expansions were achieved primarily through continued efforts to slim down bezels and make minor adjustments to the chassis dimensions, allowing for a larger screen without drastically altering the overall device size.
The current rumor of a nearly 7-inch display for the 2027 iPhone therefore represents not just another incremental step but a potential psychological threshold for the iPhone brand, pushing it firmly into tablet-like display territory for its premium offering. This historical context underscores Apple’s adaptive strategy, moving from an initial resistance to larger screens to embracing them as a key differentiator for its high-end devices.
Driving Factors: Consumer Demand and Technological Advancements
The continuous push for larger smartphone displays is not arbitrary; it is a direct response to fundamental shifts in consumer behavior and remarkable advancements in display technology. Modern smartphones are no longer merely communication devices; they are primary conduits for entertainment, productivity, gaming, and creative work.
Media Consumption: With the proliferation of high-definition streaming services, social media platforms rich in visual content, and mobile gaming titles rivaling console experiences, users demand larger, more immersive screens. A 7-inch display would significantly enhance the viewing experience for movies, TV shows, and short-form videos, making the iPhone an even more compelling portable entertainment hub. The increased screen real estate allows for greater detail, better readability, and a more expansive canvas for visual content.
Productivity and Multitasking: For many, the smartphone has replaced laptops for quick tasks, email management, document viewing, and even light content creation. A larger display facilitates better multitasking, allowing users to view more information simultaneously, manage complex spreadsheets with greater ease, and interact with professional applications more efficiently. While not reaching iPad levels of productivity, a 7-inch iPhone would bridge the gap, making it a more versatile tool for business users and power users alike.
Gaming: Mobile gaming has evolved into a multi-billion-dollar industry, with graphically intensive titles demanding superior visual fidelity and larger interfaces. A 7-inch screen provides a more expansive and comfortable gaming experience, reducing eye strain and allowing for more precise touch controls without obscuring the action.
Accessibility and User Comfort: As populations age, larger text and more spacious interfaces become crucial for comfortable usage. Furthermore, the trend towards digital interfaces for everything from banking to navigation means that clearer, larger displays benefit a wider demographic, improving overall accessibility and reducing visual fatigue.
Beyond demand, technological breakthroughs have made these larger displays feasible without turning devices into unwieldy bricks.
OLED Technology: Apple’s adoption of OLED panels, particularly for its Pro models, has been instrumental. OLED offers superior contrast, deeper blacks, vibrant colors, and energy efficiency compared to traditional LCDs. More importantly, flexible OLED technology allows for innovative designs.
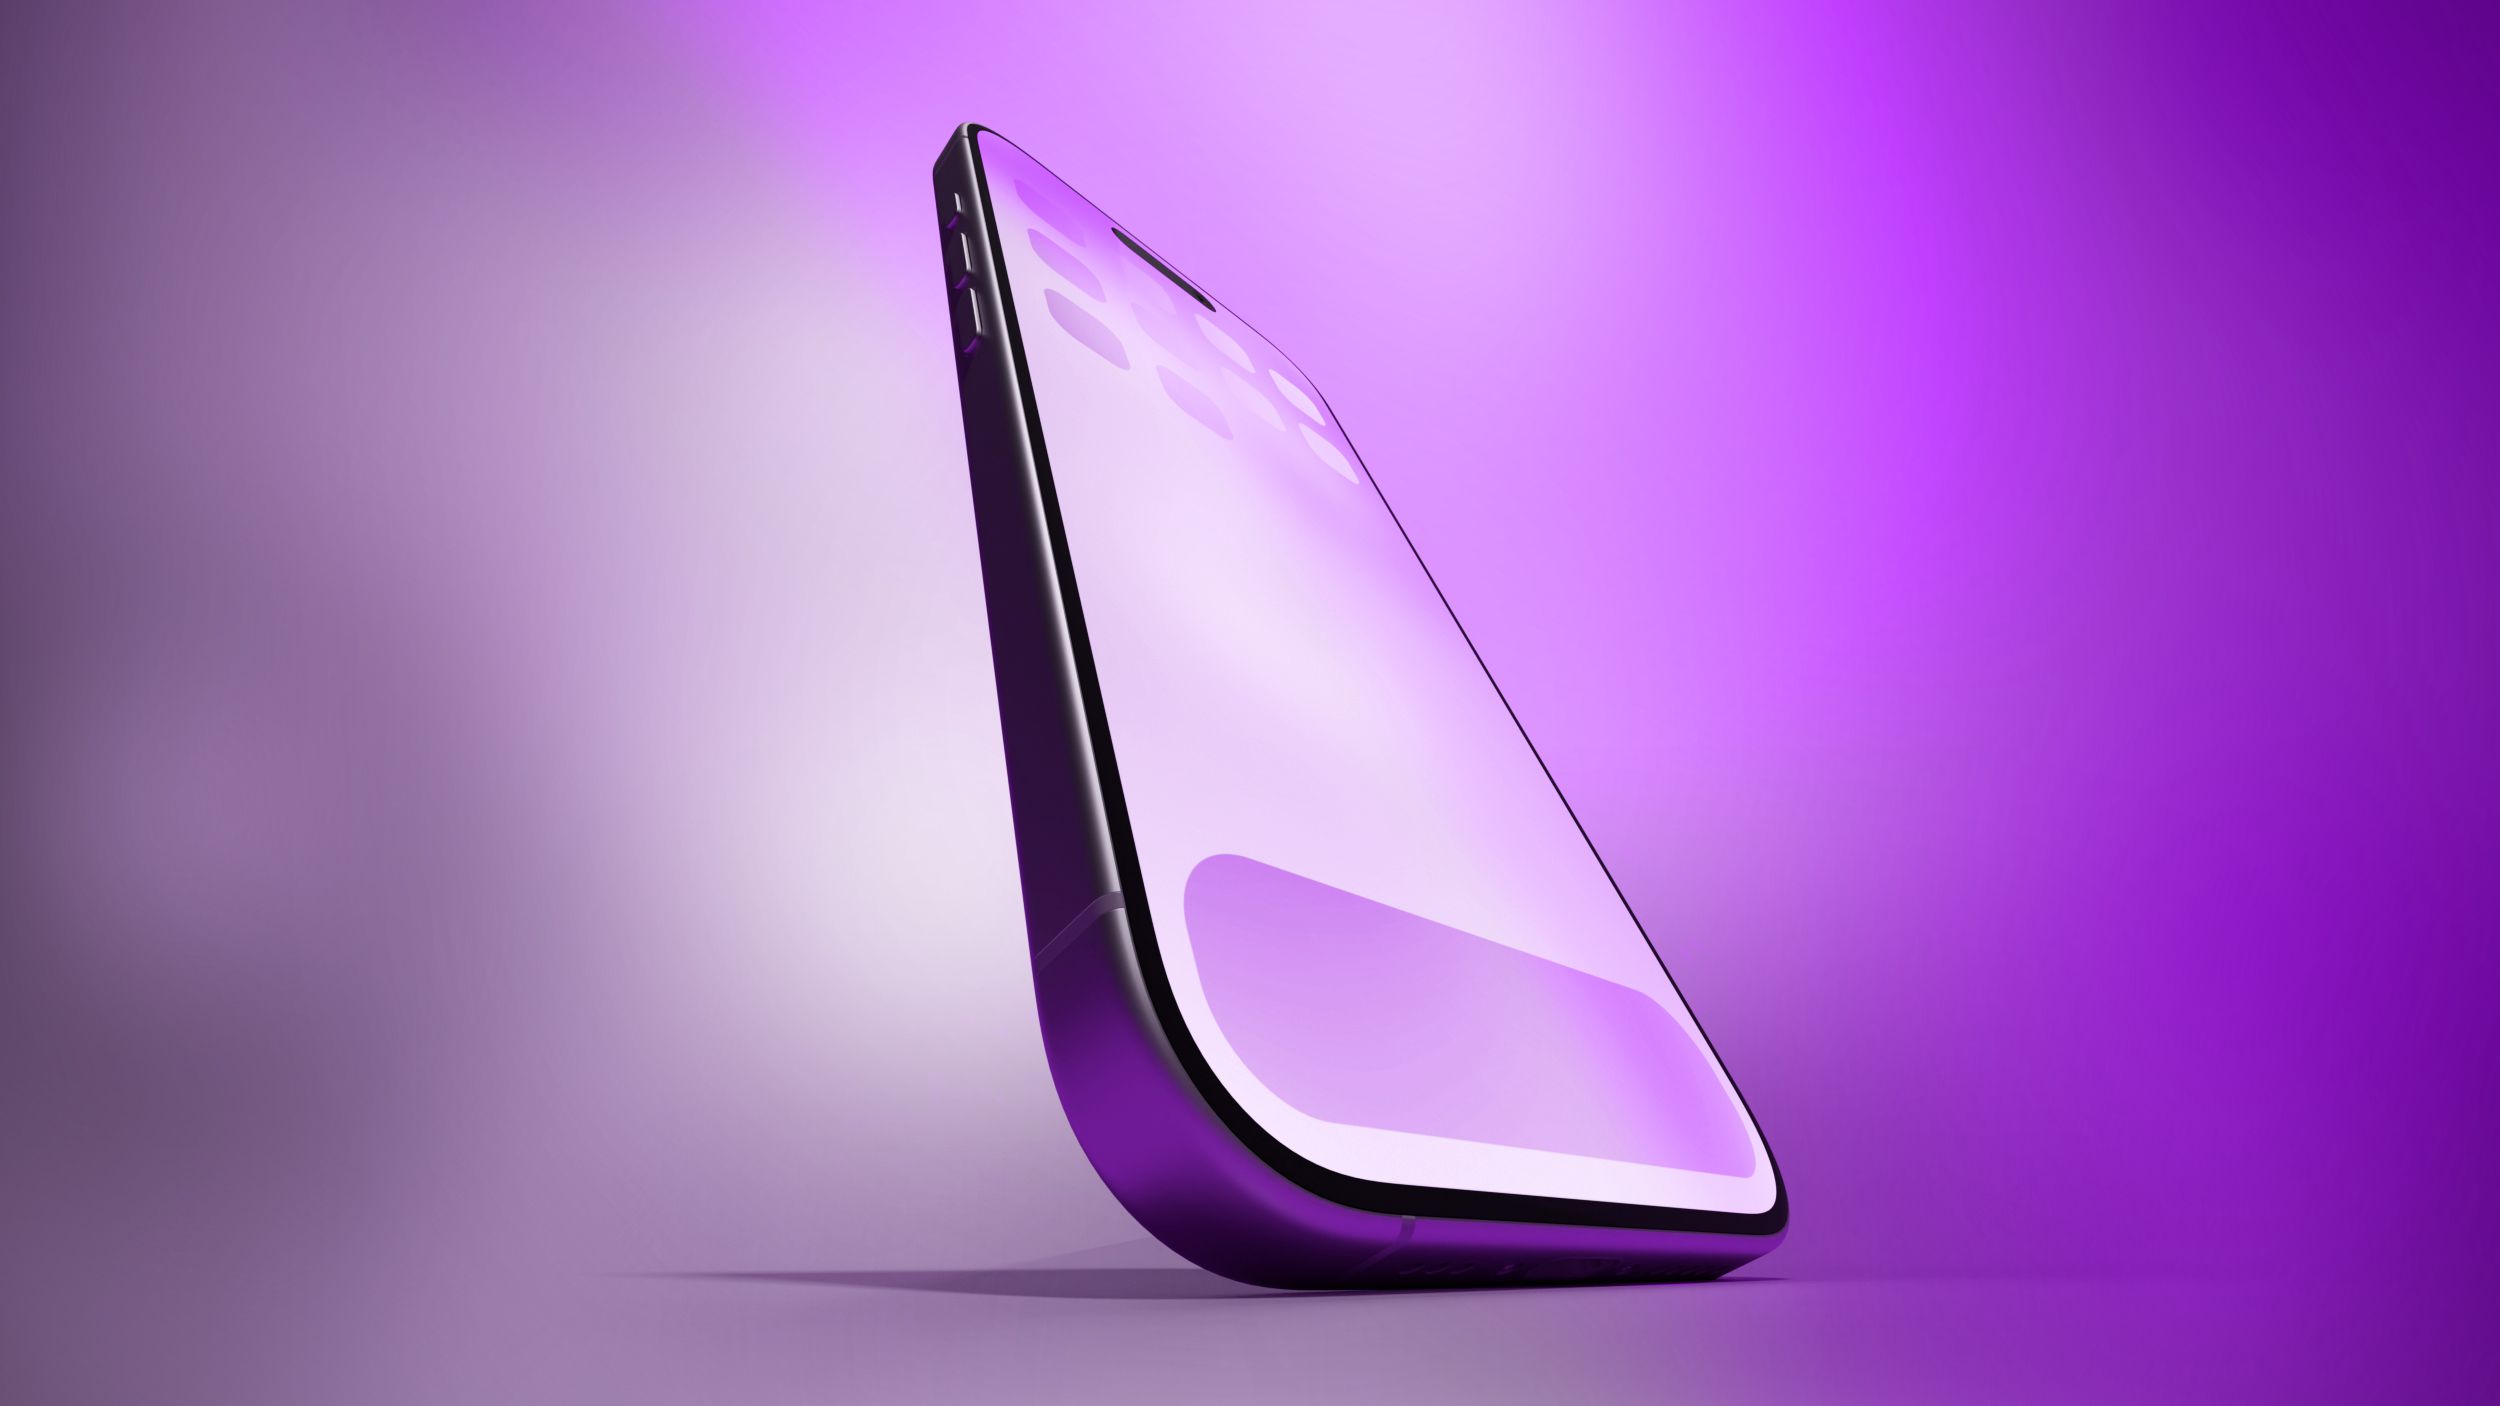
Micro-Curved OLED Panels and Borderless Design: Reports from last month, including those by Bloomberg, indicated that Apple has been intensifying work on two sizes for the 20th-anniversary iPhone, with multiple rumors suggesting an "edge-to-edge display" featuring "curved glass at all sides" for a "nearly borderless visual effect." This is where flexible OLED technology truly shines. By curving the glass – and potentially the display panel itself – around the edges, Apple can virtually eliminate side bezels, creating an illusion of an infinite screen. This not only maximizes the display-to-body ratio but also offers a visually stunning, premium aesthetic. The term "liquid glass display" has even been floated in some rumors, hinting at a seamless, almost sculptural integration of screen and frame. Such a design would allow Apple to push the display size to 7 inches while keeping the overall device footprint manageable, perhaps only slightly larger than current Pro Max models.
Slimmer Bezels: Relentless engineering efforts to reduce bezel thickness have been a continuous theme in smartphone design. Advanced packaging techniques, improved display drivers, and more compact internal components allow manufacturers to push the screen closer to the very edge of the device, reclaiming precious millimeters that translate into significant diagonal screen increases.
These combined factors — robust consumer demand for immersive experiences and the technological prowess to deliver them elegantly — form the bedrock of Apple’s strategy to introduce a 7-inch iPhone.
Implications for Apple’s Product Strategy and Market Position
The introduction of a 7-inch iPhone, particularly within the context of a 20th-anniversary model, carries significant implications for Apple’s long-term product strategy, market positioning, and competitive landscape.
Premiumization and Differentiation: Apple has consistently pursued a premiumization strategy, with its Pro and Pro Max models commanding top-tier prices. A 7-inch display further solidifies the "Pro Max" or potentially "Ultra" designation as the ultimate iPhone experience. It differentiates the highest-end model not just through camera capabilities or processor power, but through a truly expansive and immersive visual interface that stands apart from the standard iPhone lineup. This move could justify even higher price points, a trend also hinted at by recent rumors regarding price hikes for the iPhone 18 Pro and future foldable iPhones.
Addressing Android Competition: For years, Android manufacturers, particularly Samsung, have led the charge in offering large-screen smartphones, often pushing past 6.7 or 6.8 inches. While Apple has gradually followed suit, a 7-inch iPhone would put it squarely in contention with the largest flagship Android devices, potentially attracting users who previously opted for Android for its expansive displays. It demonstrates Apple’s commitment to competing vigorously across all key feature sets, including screen size.
Potential for New User Experiences: A 7-inch display opens avenues for Apple to introduce new software features optimized for larger screens. While iPhones run iOS, which is distinct from iPadOS, a larger canvas could allow for more advanced multitasking capabilities, redesigned widgets, or even a more tablet-like interface for certain applications, blurring the lines between the iPhone and the smaller iPad Mini. This could also influence how developers design their apps, encouraging more sophisticated interfaces that leverage the extra space.
Impact on the Foldable iPhone Project: Interestingly, the original article’s "Popular Stories" section references the "iPhone Ultra 2" (a foldable device) getting the green light and price hikes for foldable iPhones. The development of a 7-inch traditional iPhone raises questions about Apple’s broader screen strategy. Will a 7-inch conventional iPhone serve as a bridge to foldables, or will it create a distinct premium segment that coexists with them? It suggests Apple is exploring multiple avenues to offer larger screen experiences, catering to different user preferences regarding form factor and flexibility. A larger rigid display might appeal to users who desire screen real estate without the added complexity and cost of a foldable mechanism.
Supply Chain and Manufacturing Challenges: Prototyping a new display size, especially one with advanced features like "micro-curved OLED" and "liquid glass," is a complex undertaking. It involves close collaboration with display manufacturers (like Samsung Display or LG Display), ensuring consistent quality, robust supply, and efficient production at scale. The fact that Apple is already prototyping indicates a high level of confidence in overcoming these manufacturing hurdles for a 2027 launch.
Broader Market Impact and Analyst Perspectives
The smartphone market continues to mature, and innovation often comes in iterative steps. However, display size remains a critical factor for many consumers. Market analysts have consistently highlighted the trend towards larger screens as a key driver of smartphone upgrades. Reports from firms like IDC and Counterpoint Research frequently point to the "phablet" segment (devices with screens 5.5 inches and larger) as the dominant force in smartphone sales globally.
A 7-inch iPhone would reinforce this trend, potentially spurring a new wave of upgrades among users of older, smaller iPhones. It also signals Apple’s continued confidence in the demand for premium, high-specification devices, even as the overall smartphone market faces economic headwinds.
While Apple traditionally maintains a veil of secrecy around its future products, the consistent stream of leaks from reliable sources like Digital Chat Station provides valuable insights into the company’s research and development pipeline. The fact that a specific display size and its intended target (the 20th-anniversary iPhone) are being discussed suggests that this is beyond mere conceptual exploration and has entered a more concrete prototyping phase.
The competitive landscape will undoubtedly react to such a move. Android manufacturers, who have often been more aggressive with screen sizes, will likely continue to innovate in their own ways, perhaps pushing even further into foldable technology or exploring other form factors. However, Apple’s entry into the 7-inch display category would lend significant credibility to this size segment, potentially normalizing it across the premium smartphone market.
The Path to 2027: What to Expect
The 2027 iPhone, marking two decades since the original device, is expected to be a landmark release for Apple. Rumors have painted a picture of a device that pushes the boundaries of design and technology, potentially featuring a truly portless design, under-display Face ID, and advanced camera systems. The 7-inch display, with its purported "nearly borderless" and "curved glass at all sides" aesthetic, would be a cornerstone of this ambitious vision.
This year’s upcoming iPhone 18 Pro and iPhone 18 Pro Max models are expected to maintain the same dimensions as the current iPhone 17 Pro models, which are available in 6.3- and 6.9-inch sizes. This consistent sizing for the immediate future underscores the significance of the 7-inch rumor for 2027; it suggests that Apple is planning a more substantial leap for its anniversary model rather than incremental increases year-over-year. The decision to prototype a 6.96-inch panel, effectively a 7-inch screen, is the first concrete indication of Apple’s plans to further expand the display size for this commemorative iPhone.
As 2027 approaches, more details are expected to emerge from the supply chain and leaker community. The focus will be not only on the exact dimensions but also on how Apple optimizes iOS for such an expansive display, the potential for new interaction methods, and how it balances the desire for a large screen with ergonomic considerations. The 20th-anniversary iPhone, with its potentially 7-inch display, stands poised to redefine the premium smartphone experience once again, continuing Apple’s legacy of innovation in a highly competitive market.


